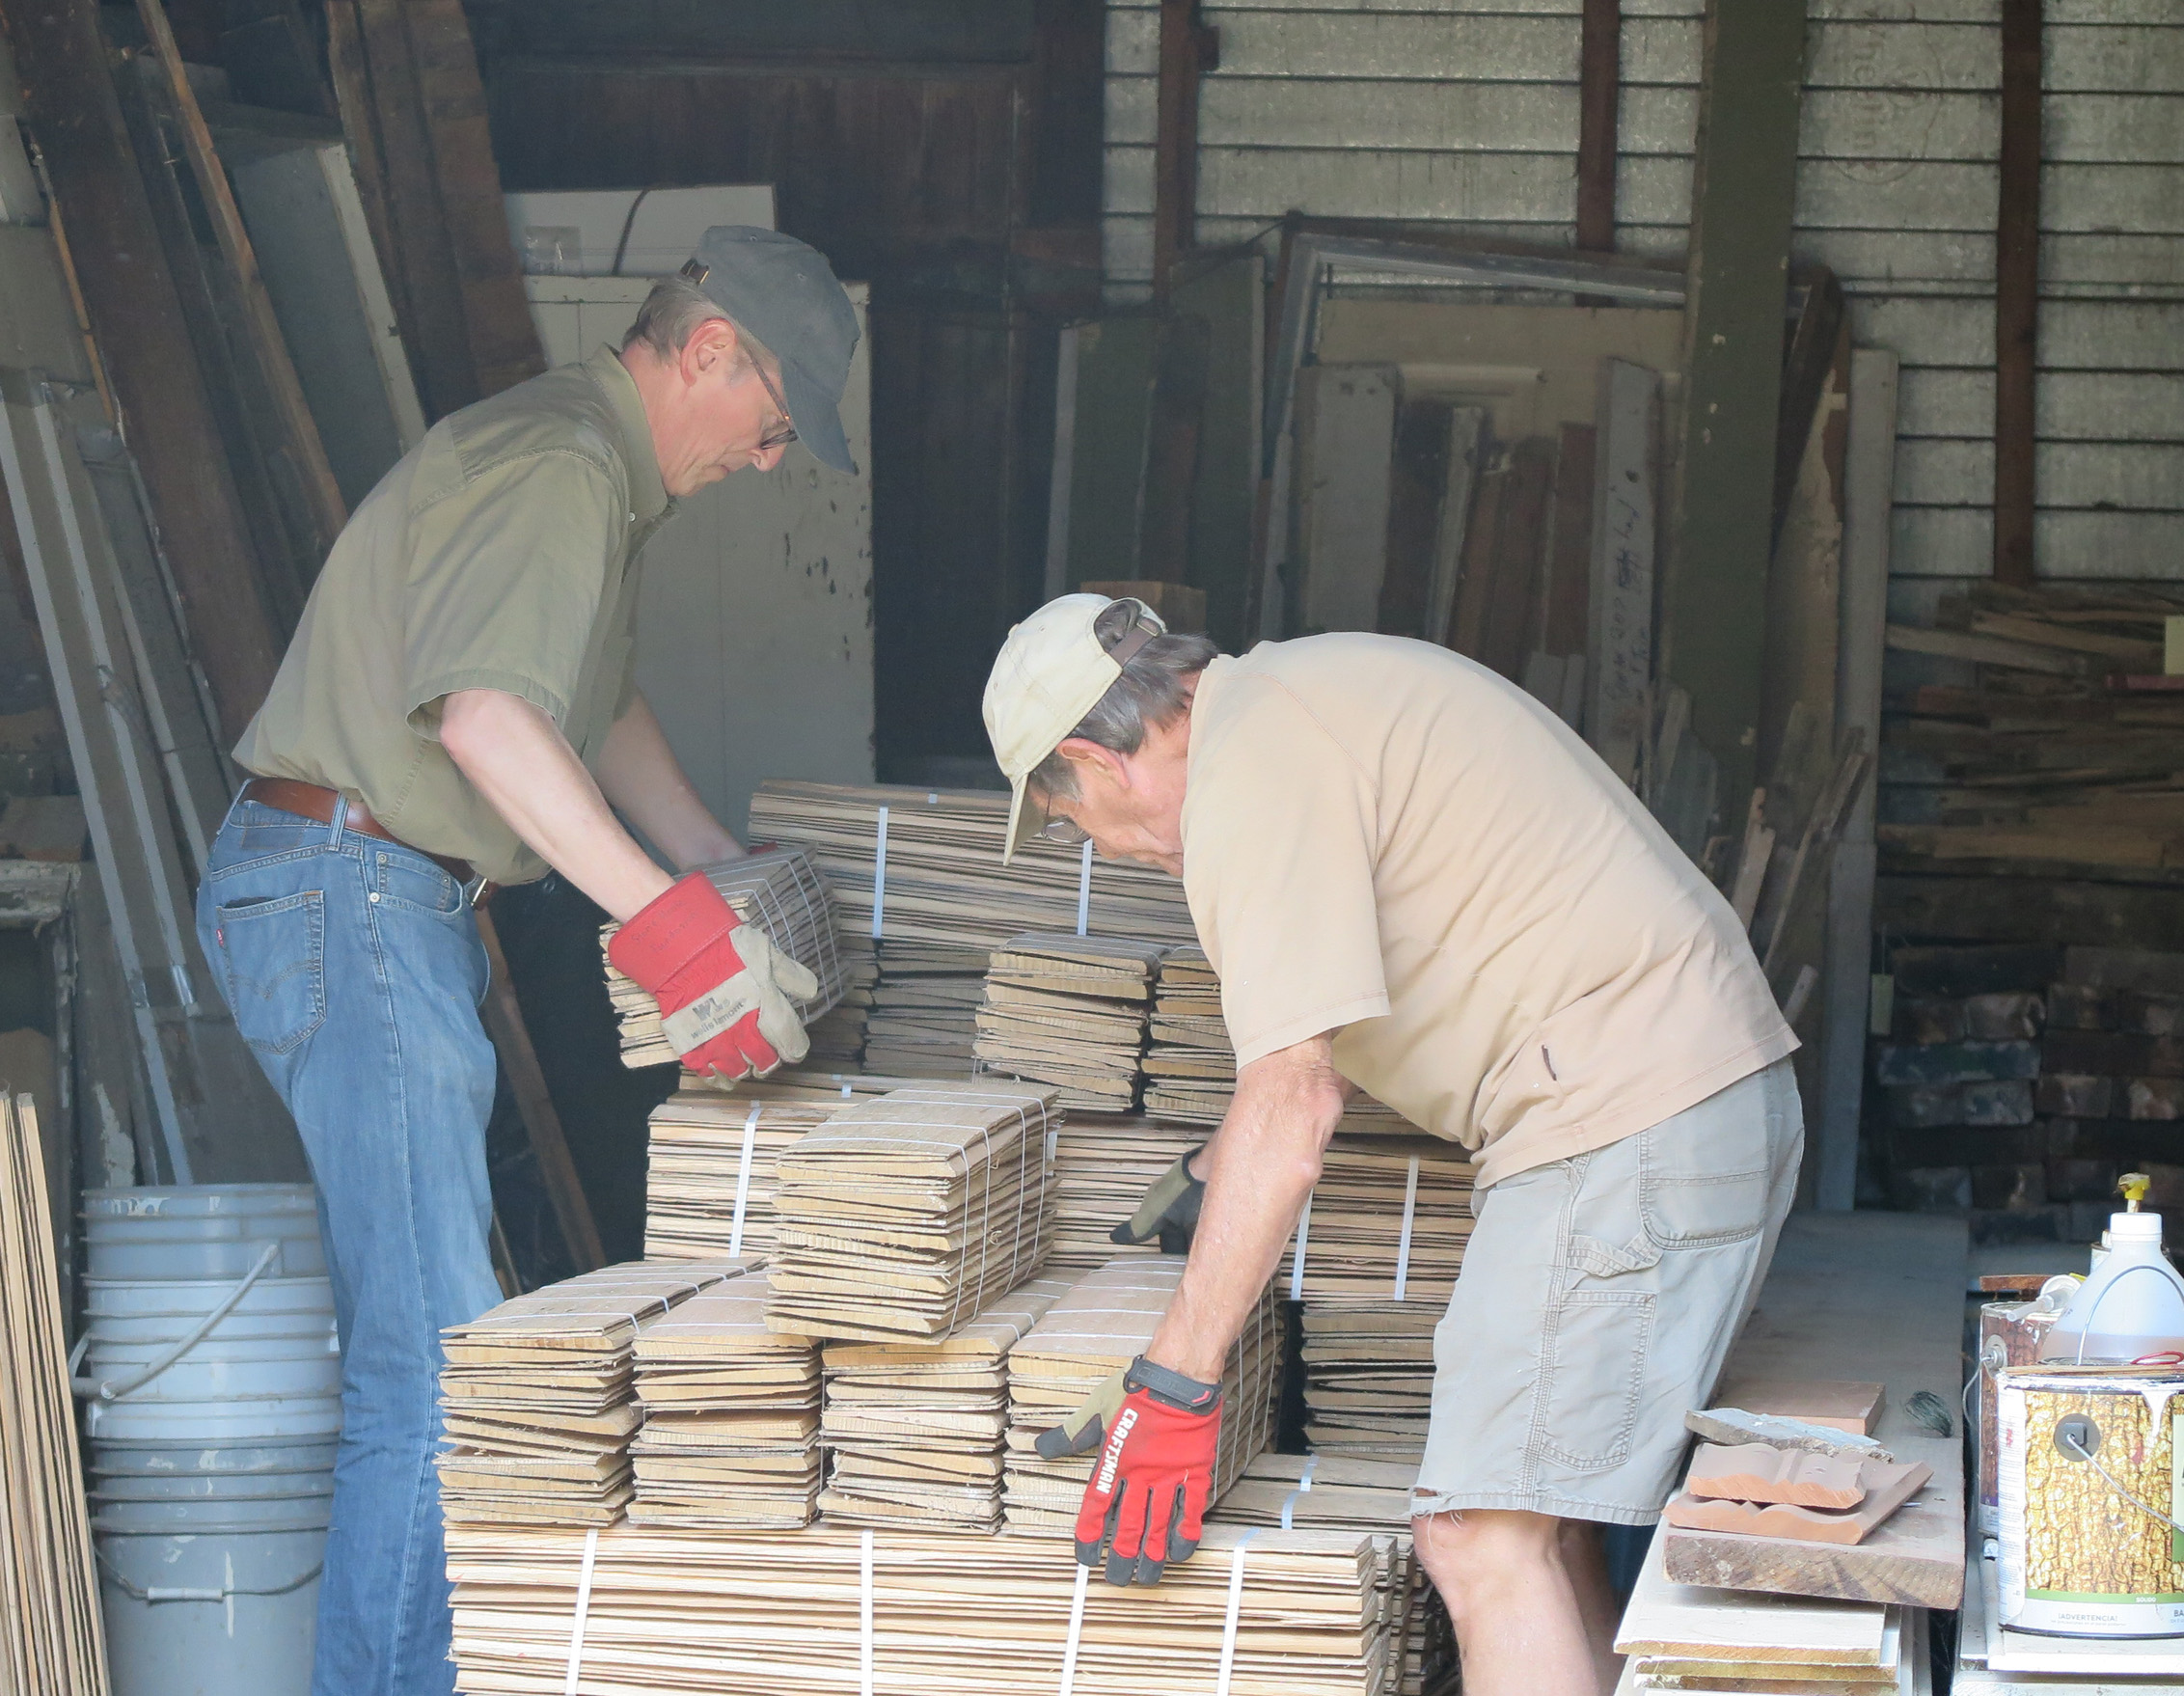
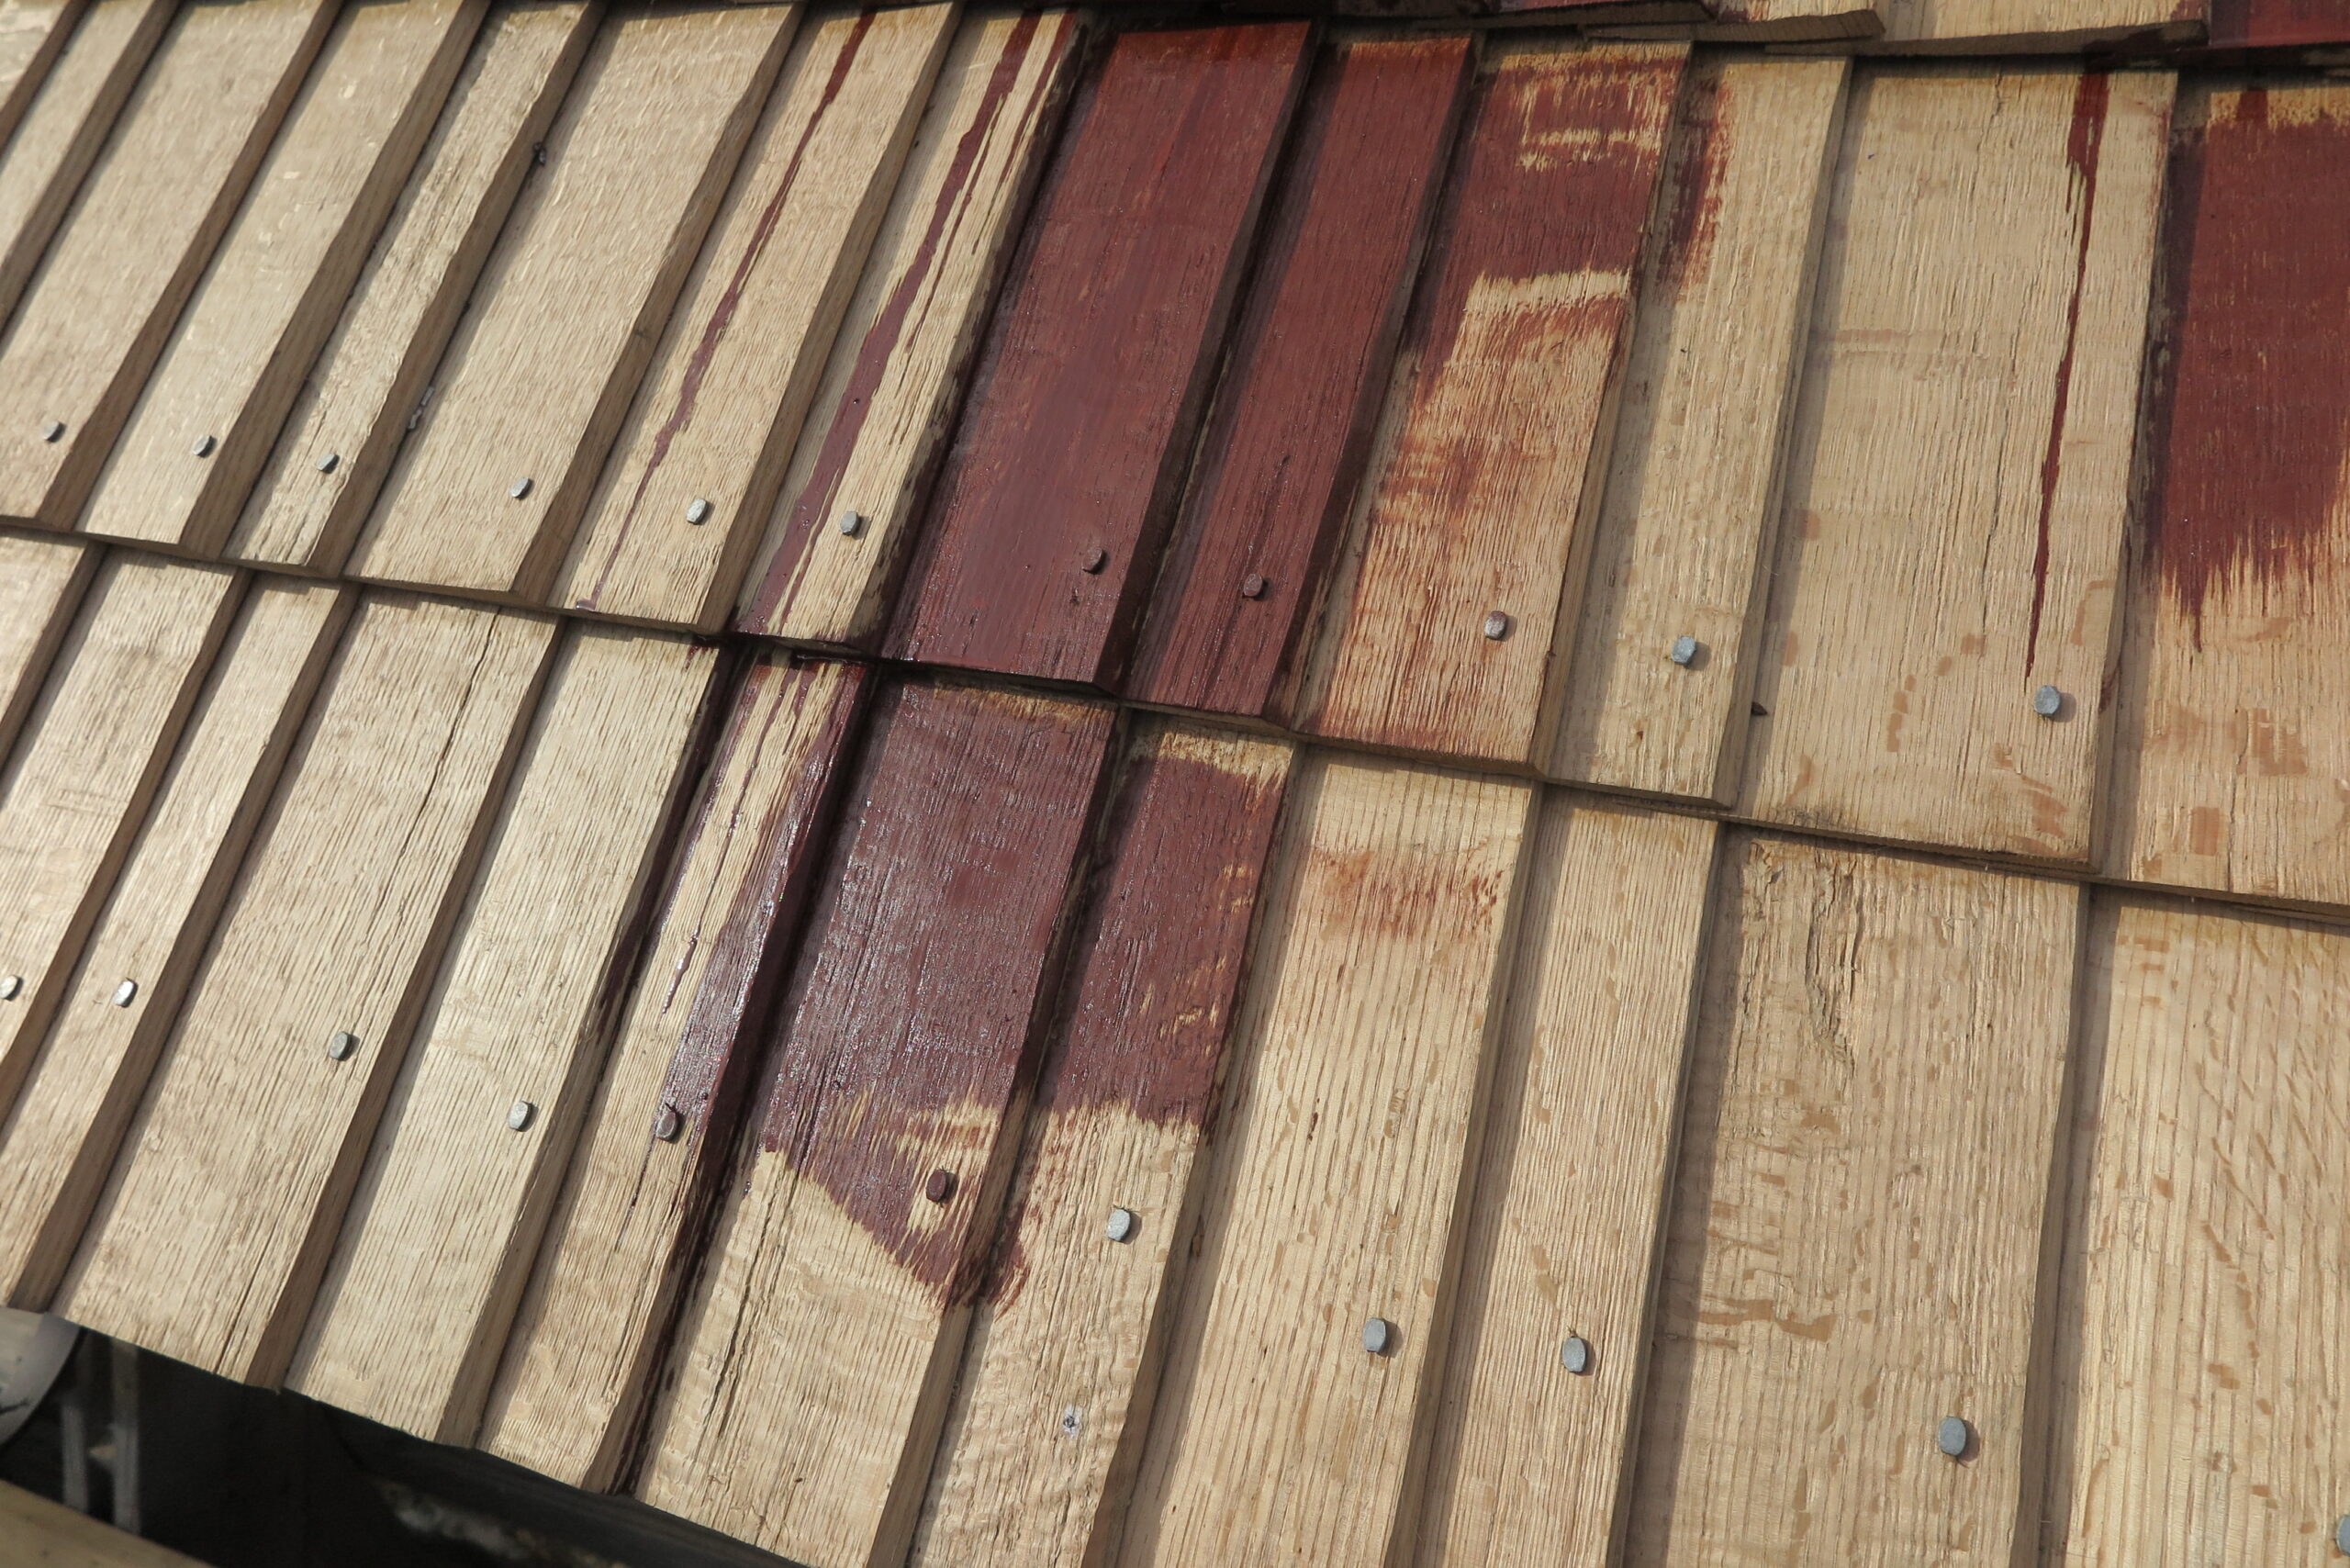
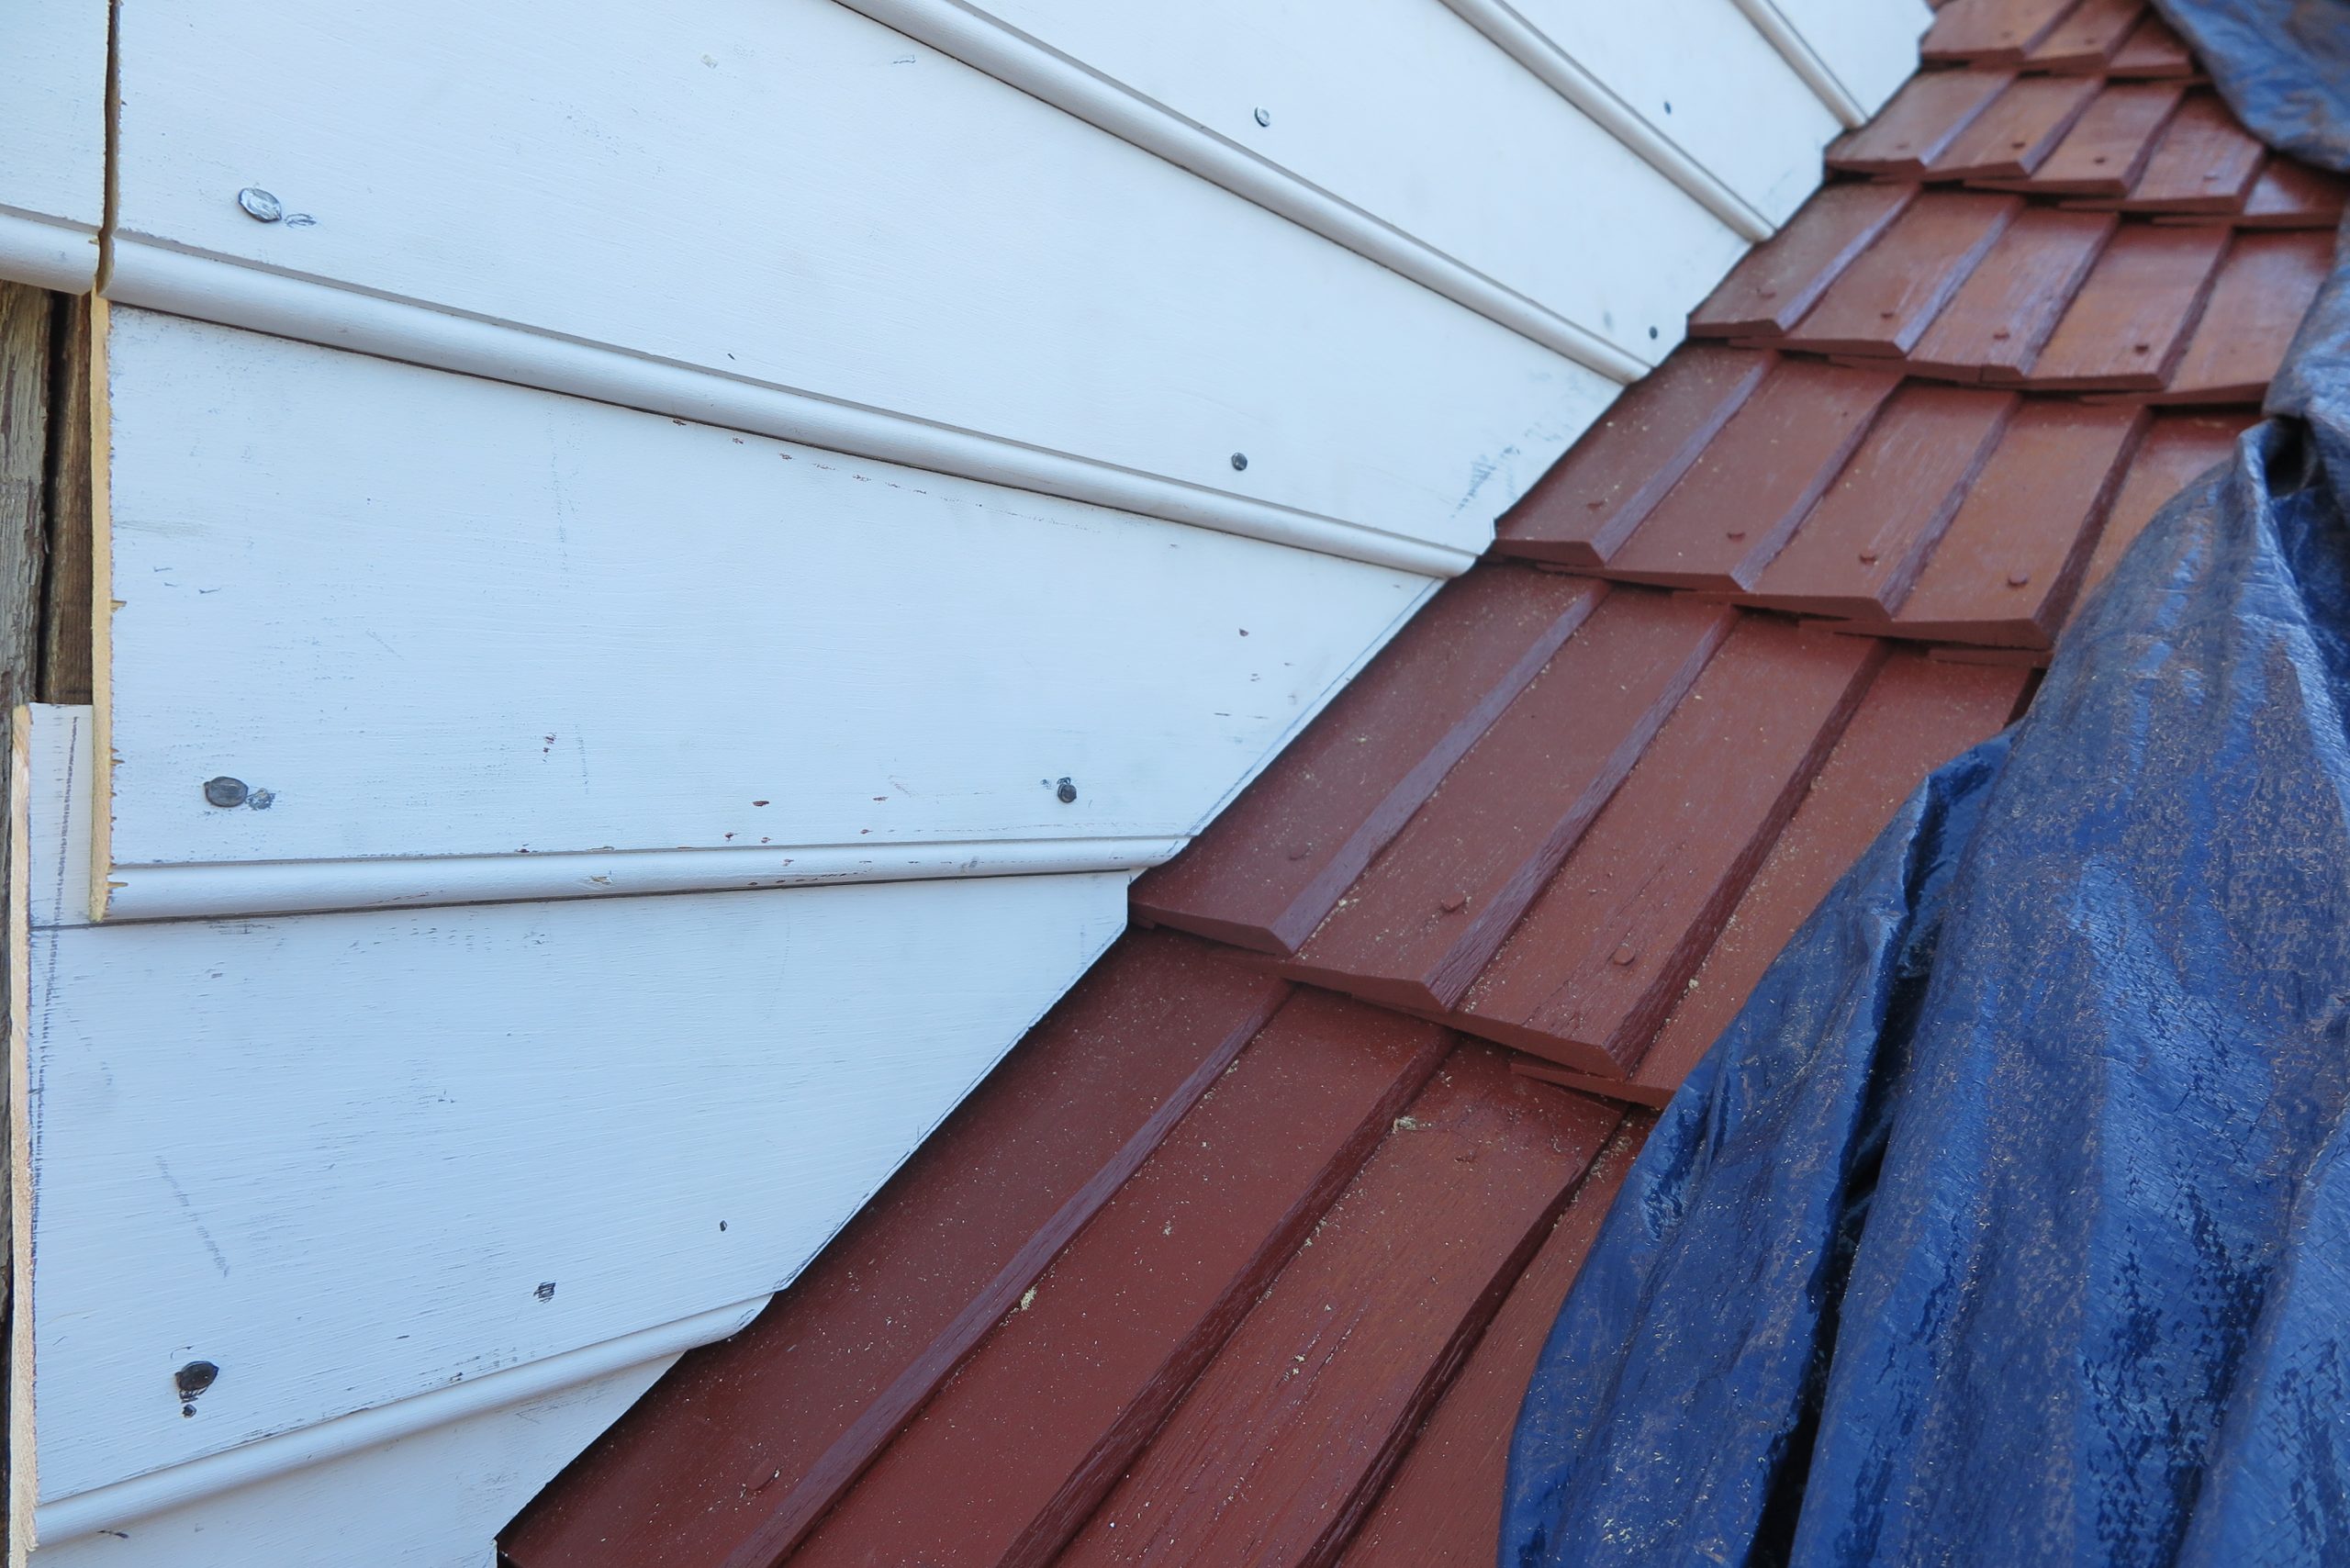
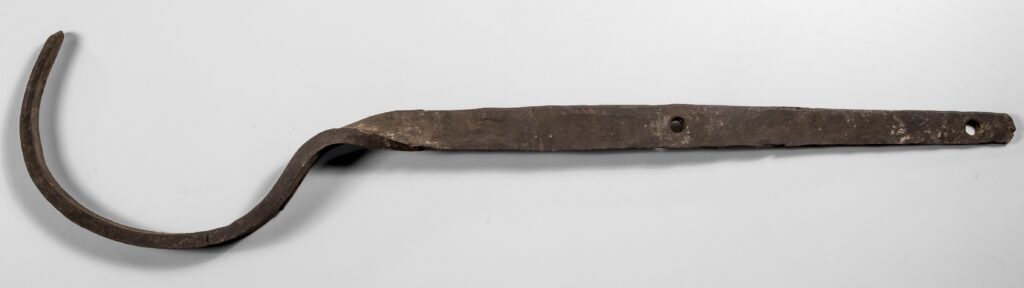
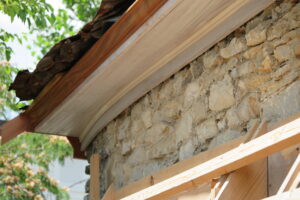
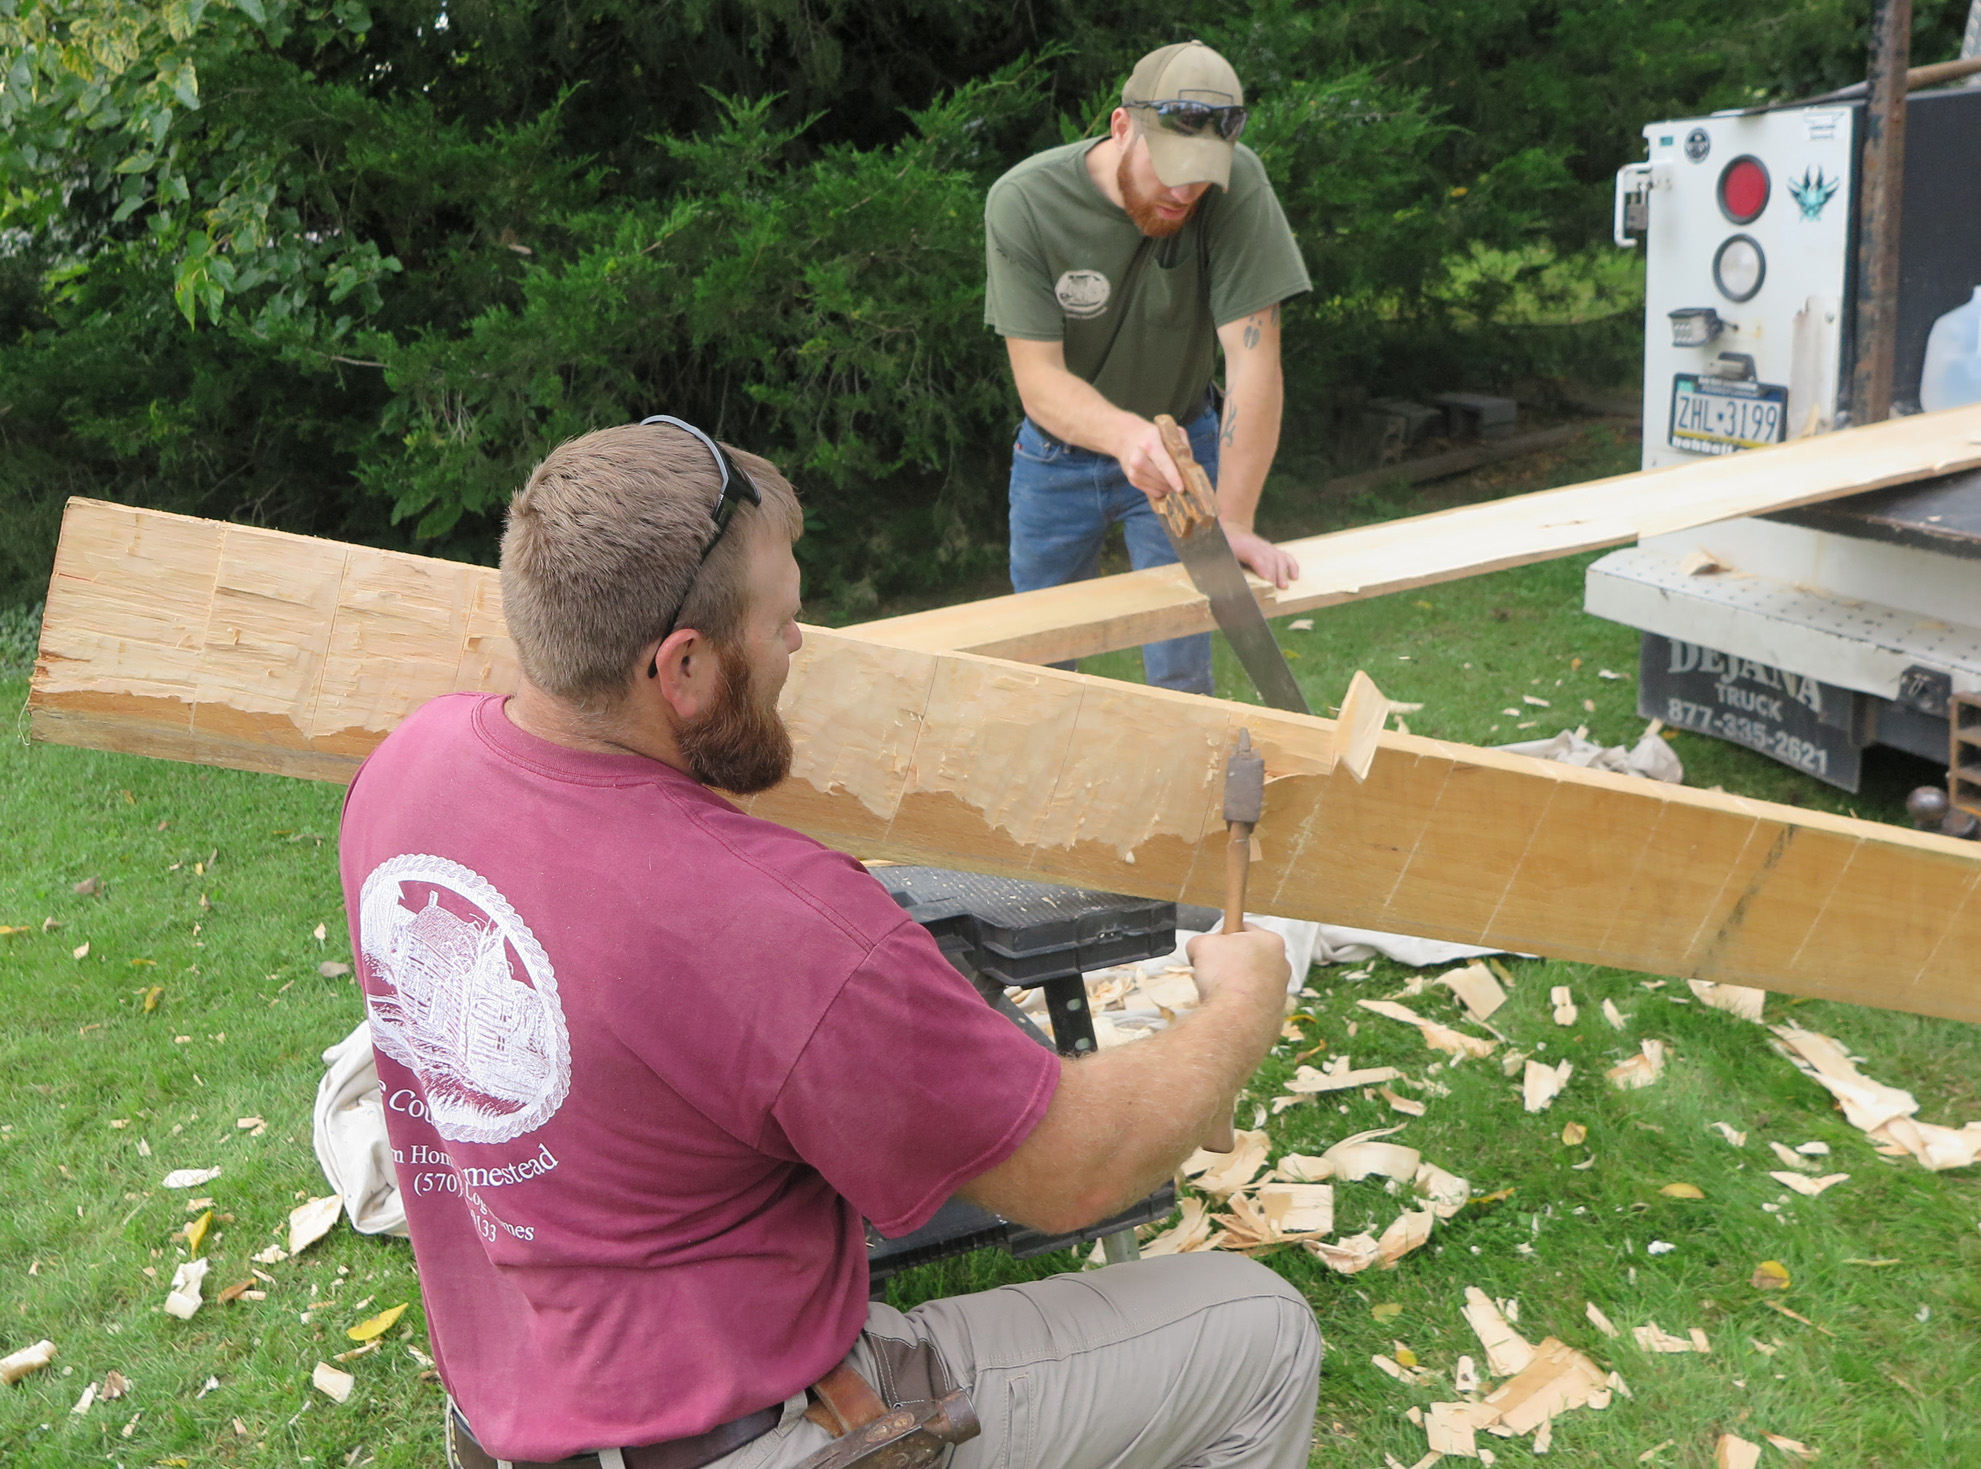
We had hoped to be reporting in this update on the completion of the installation of the roof over the log side of the Stone House. For the majority of time we have been working on this project our progress was held back by the slow pace of the shingle production. It takes a long time to make 4,900 shingles by hand when you have a shortage of hands that are willing and capable of that kind of work. As we reported in our last post, we now have all the shingles we need to install the roof over the log side of the building. This time we are held up again by a shortage of what might be called “low-tech” skilled labor. This term low-tech may sound sarcastic and disdainful but in fact it is quite the opposite. The kind of laborers needed for low-tech preservation trade work are an exceptionally rare group of people who are required to acquire and hone very specialized hand skills. Hand-guided and hand-powered tools are considered low tech in our modern world of power tools and machinery that is designed to get jobs done quickly and efficiently. Prefabricated, mass-produced, and interchangeable building materials are now the standard in the building trades. David William Pye (18 November 1914 – 1 January 1993), was Professor of Furniture Design at The Royal College of Art in London, UK from 1964 to 1974. He identified and contrasted the two basic types of workmanship that are required for all trades: the workmanship of risk verses the workmanship of certainty. Pye defined the workmanship of risk as “workmanship using any kind of technique or apparatus, in which the quality of the result is not predetermined, but depends on the judgment, dexterity, and care which the maker exercises as he works.” The progress of technology throughout history has been a sustained effort to move away from the workmanship of risk toward the workmanship of certainty. To say it plainly, historic preservation trade work requires people to have knowledge and skills that are considered by the for-profit construction business world to be largely obsolete technologies. The installation of side-lap handmade split shingles might be considered the epitome of the workmanship of risk.
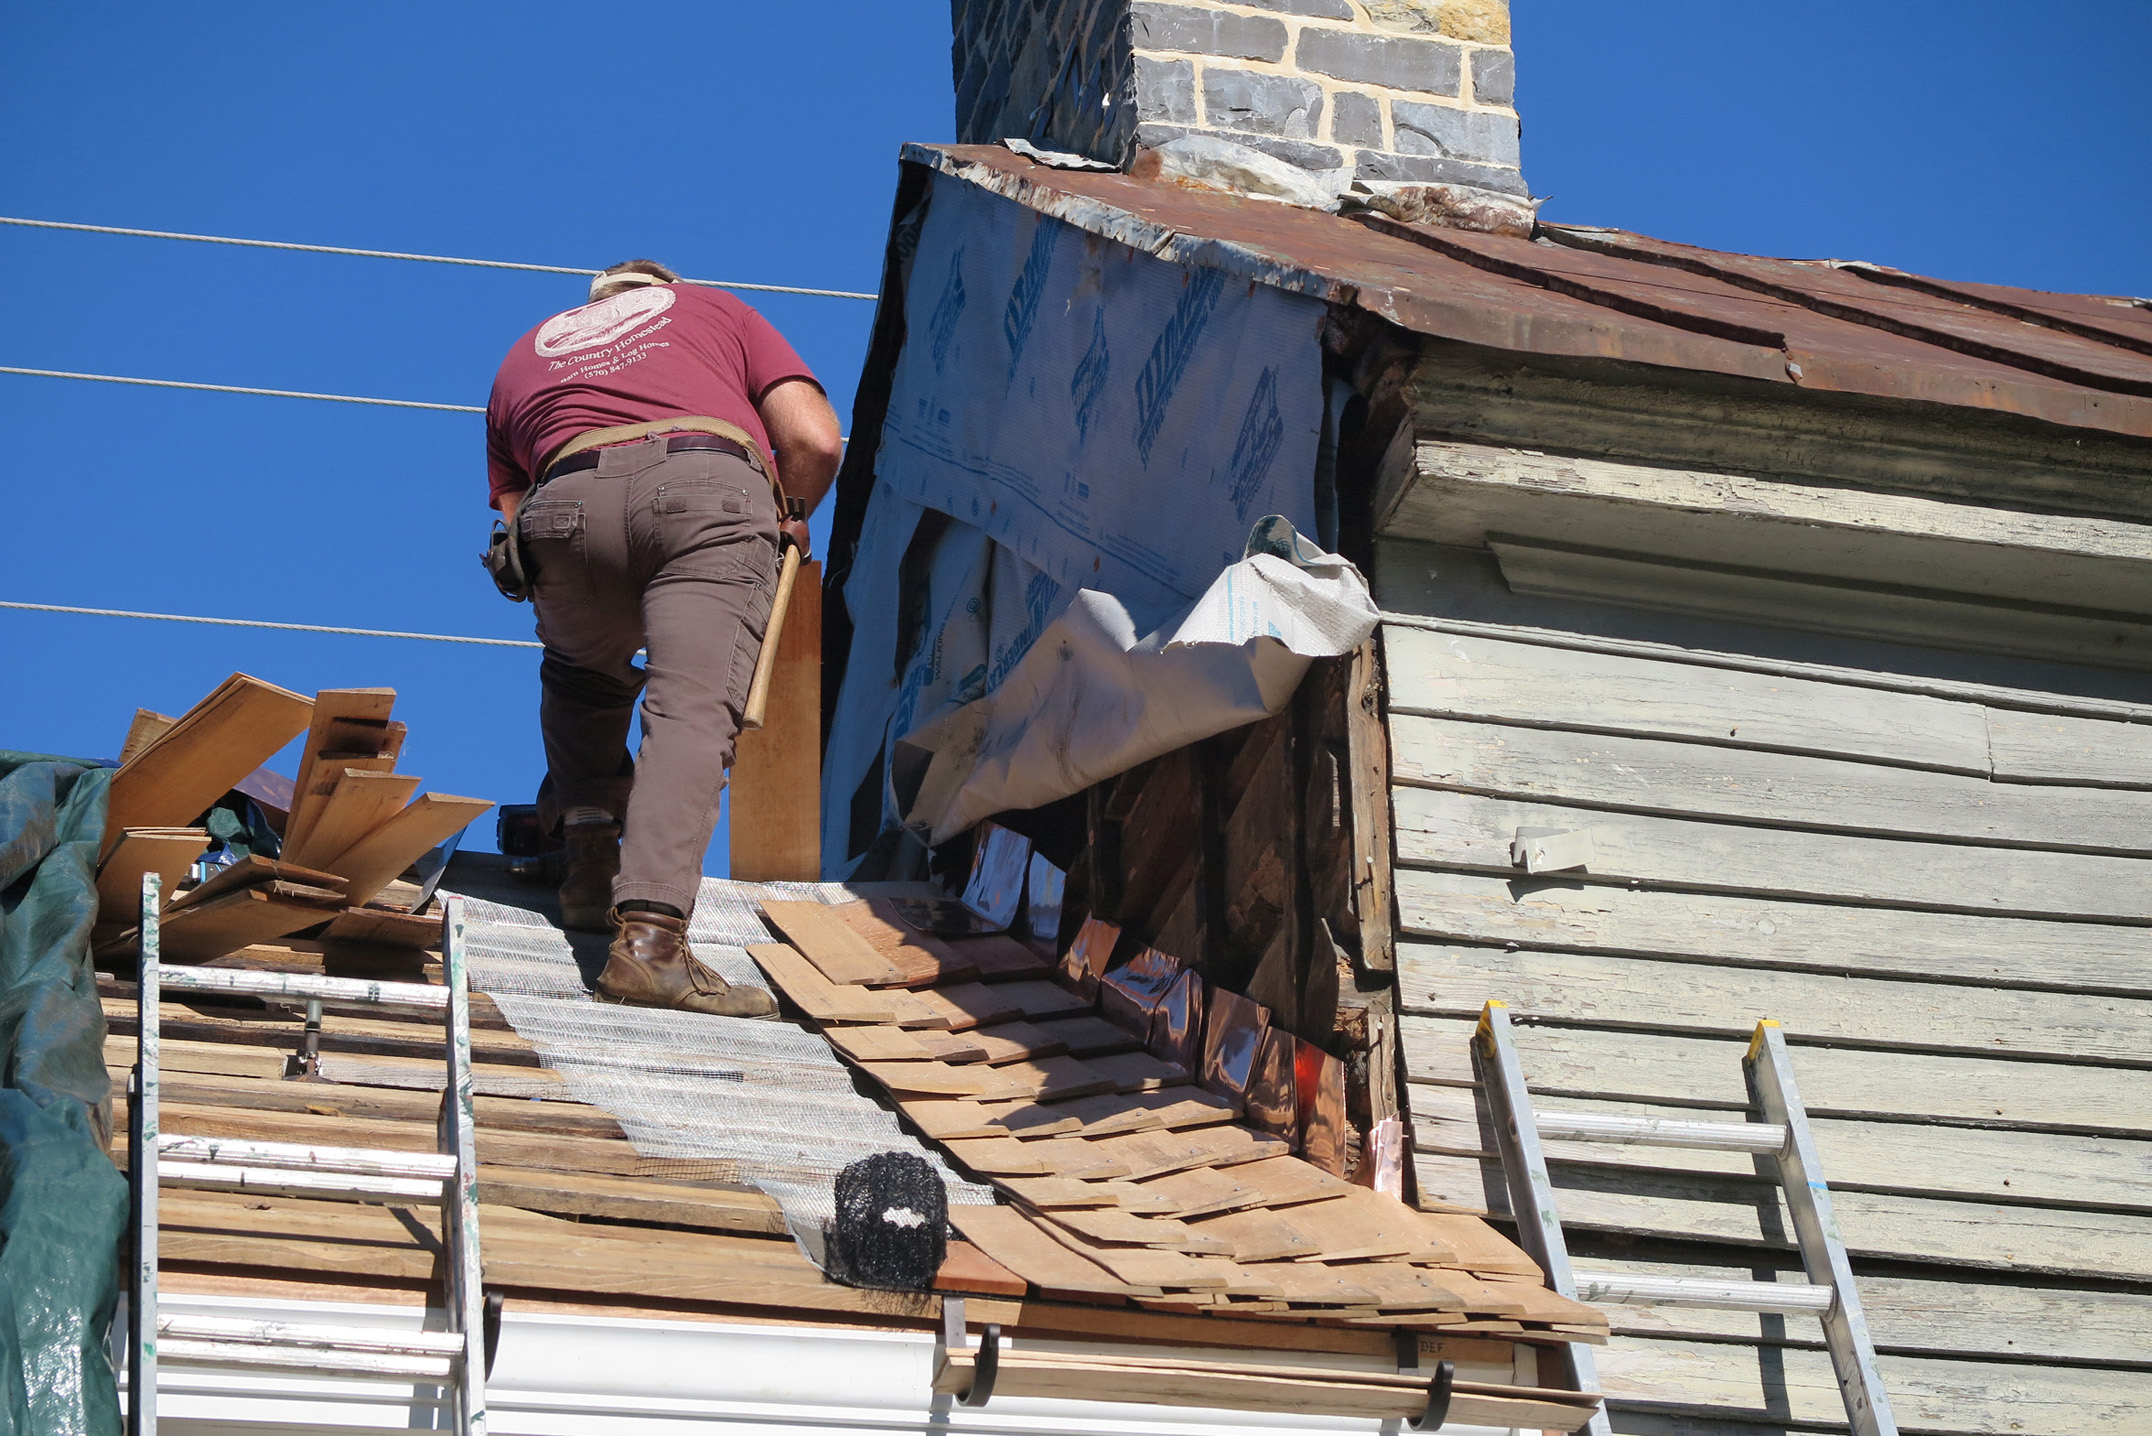
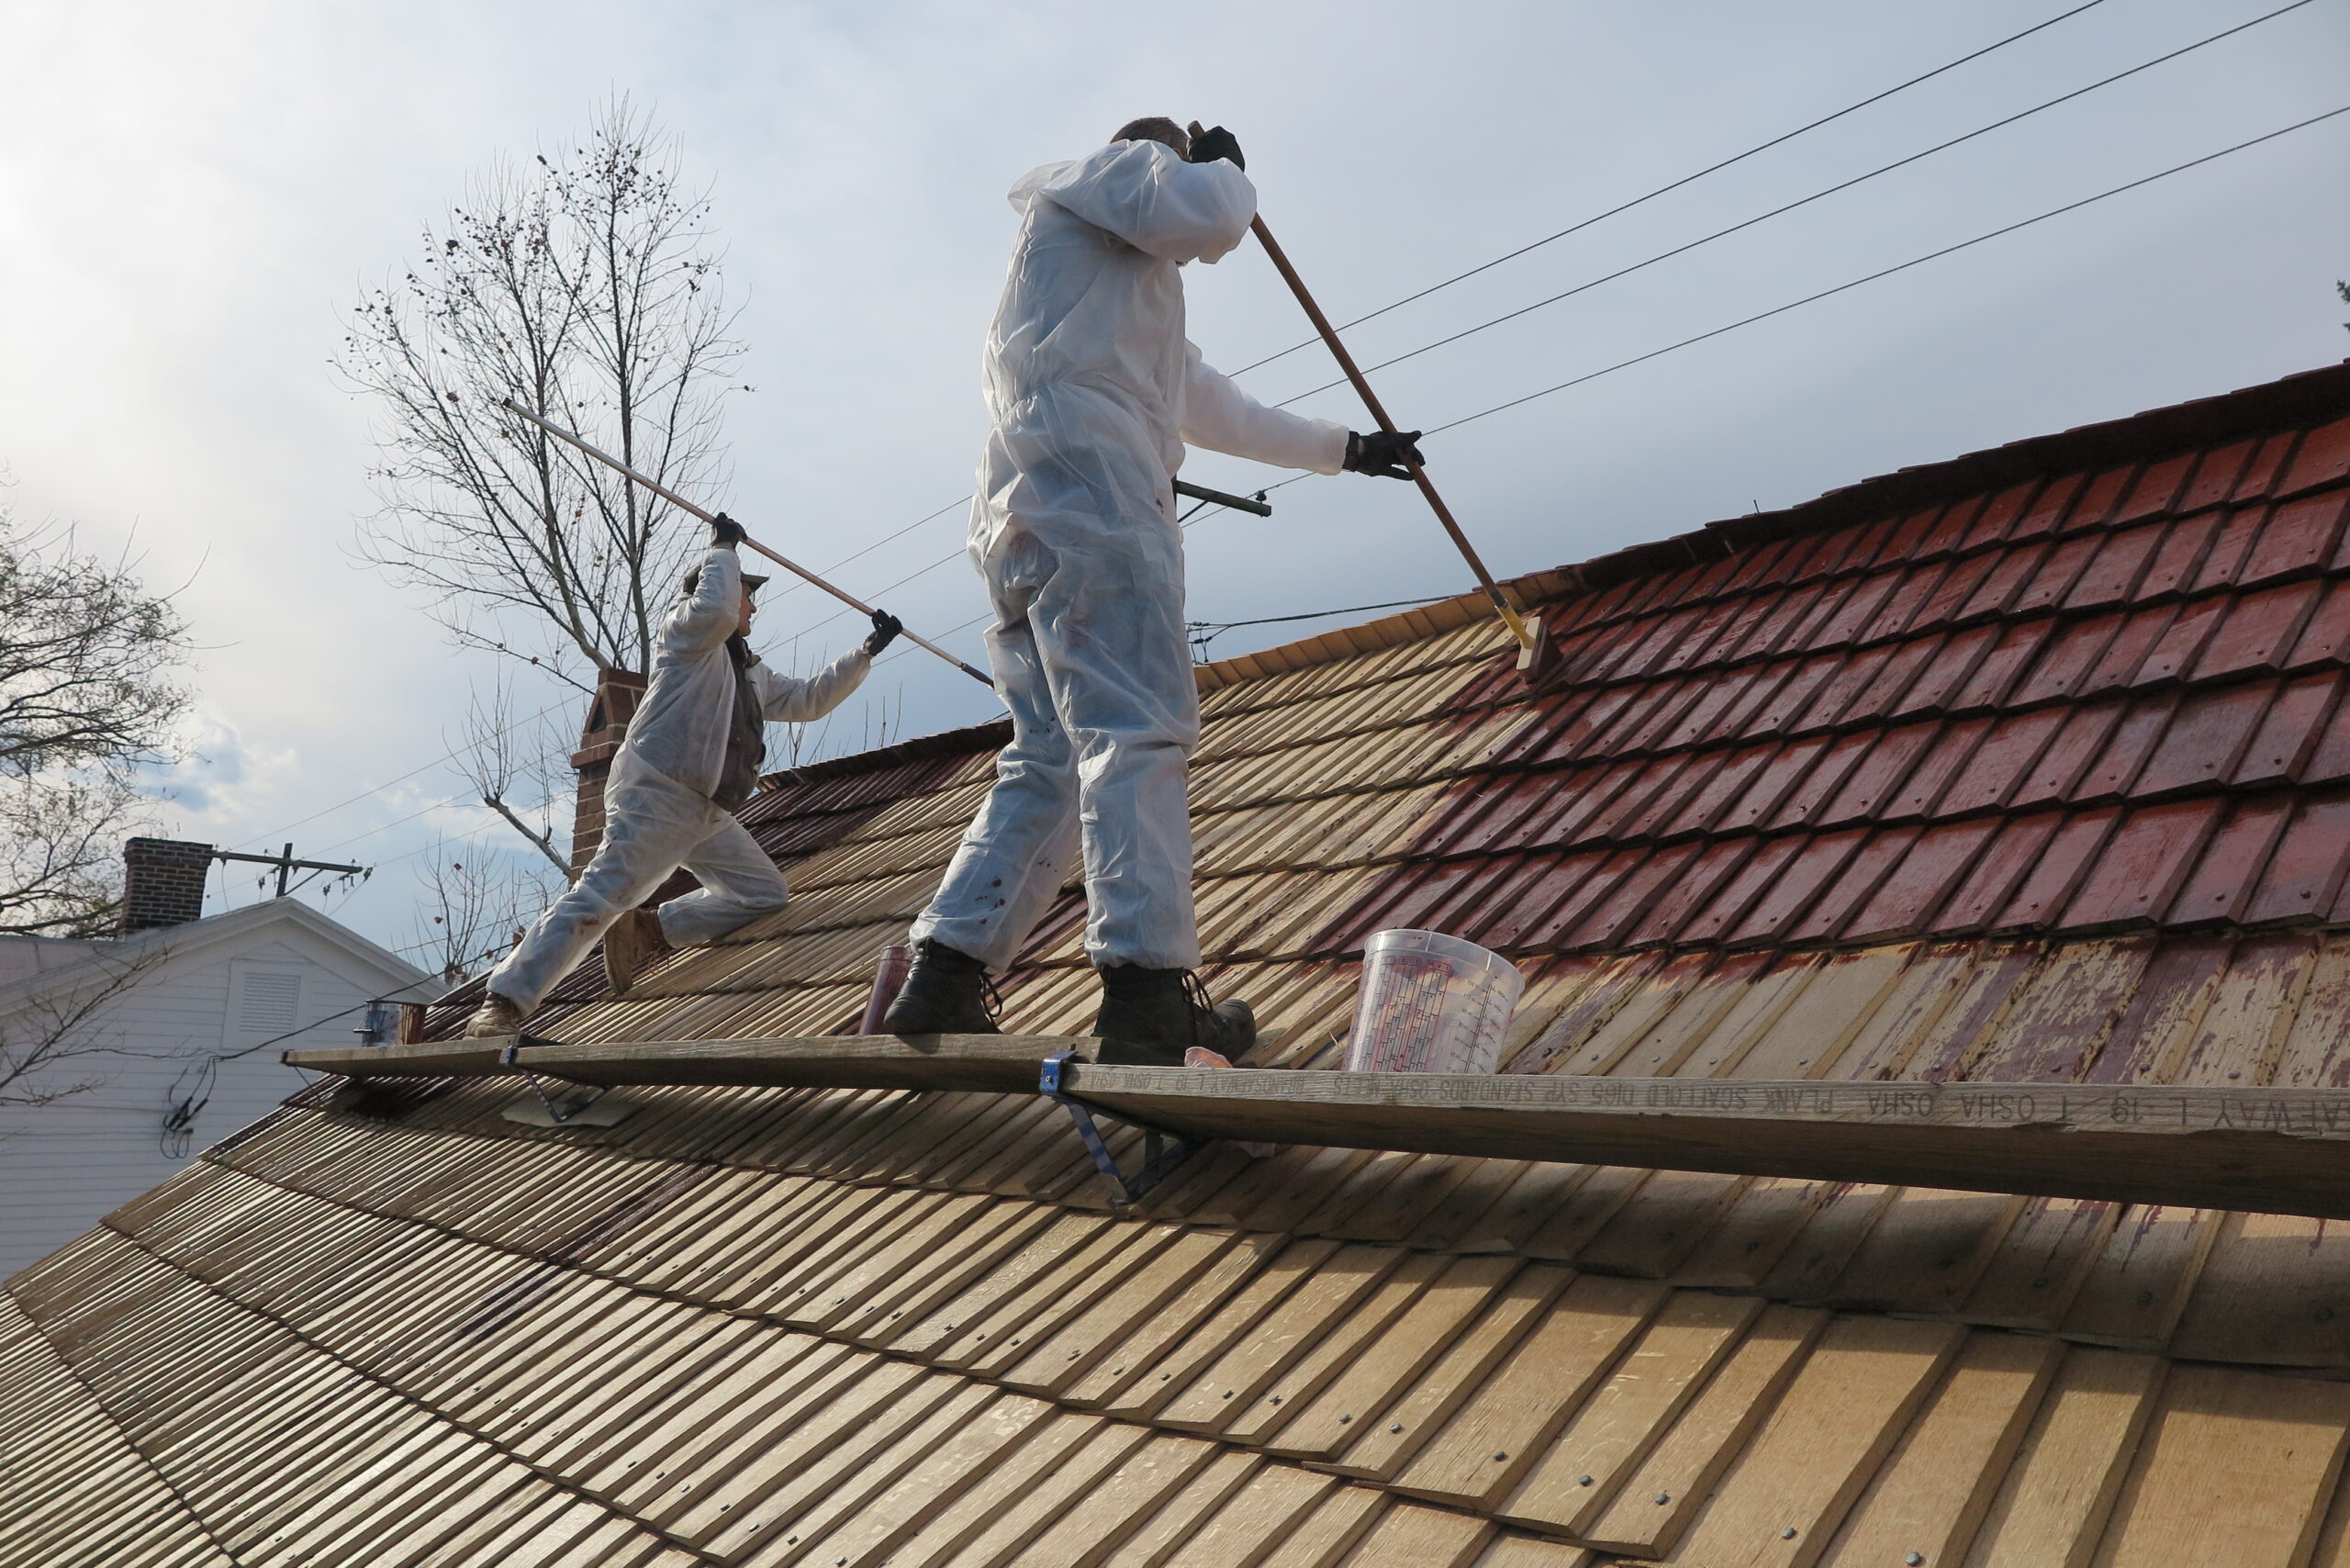
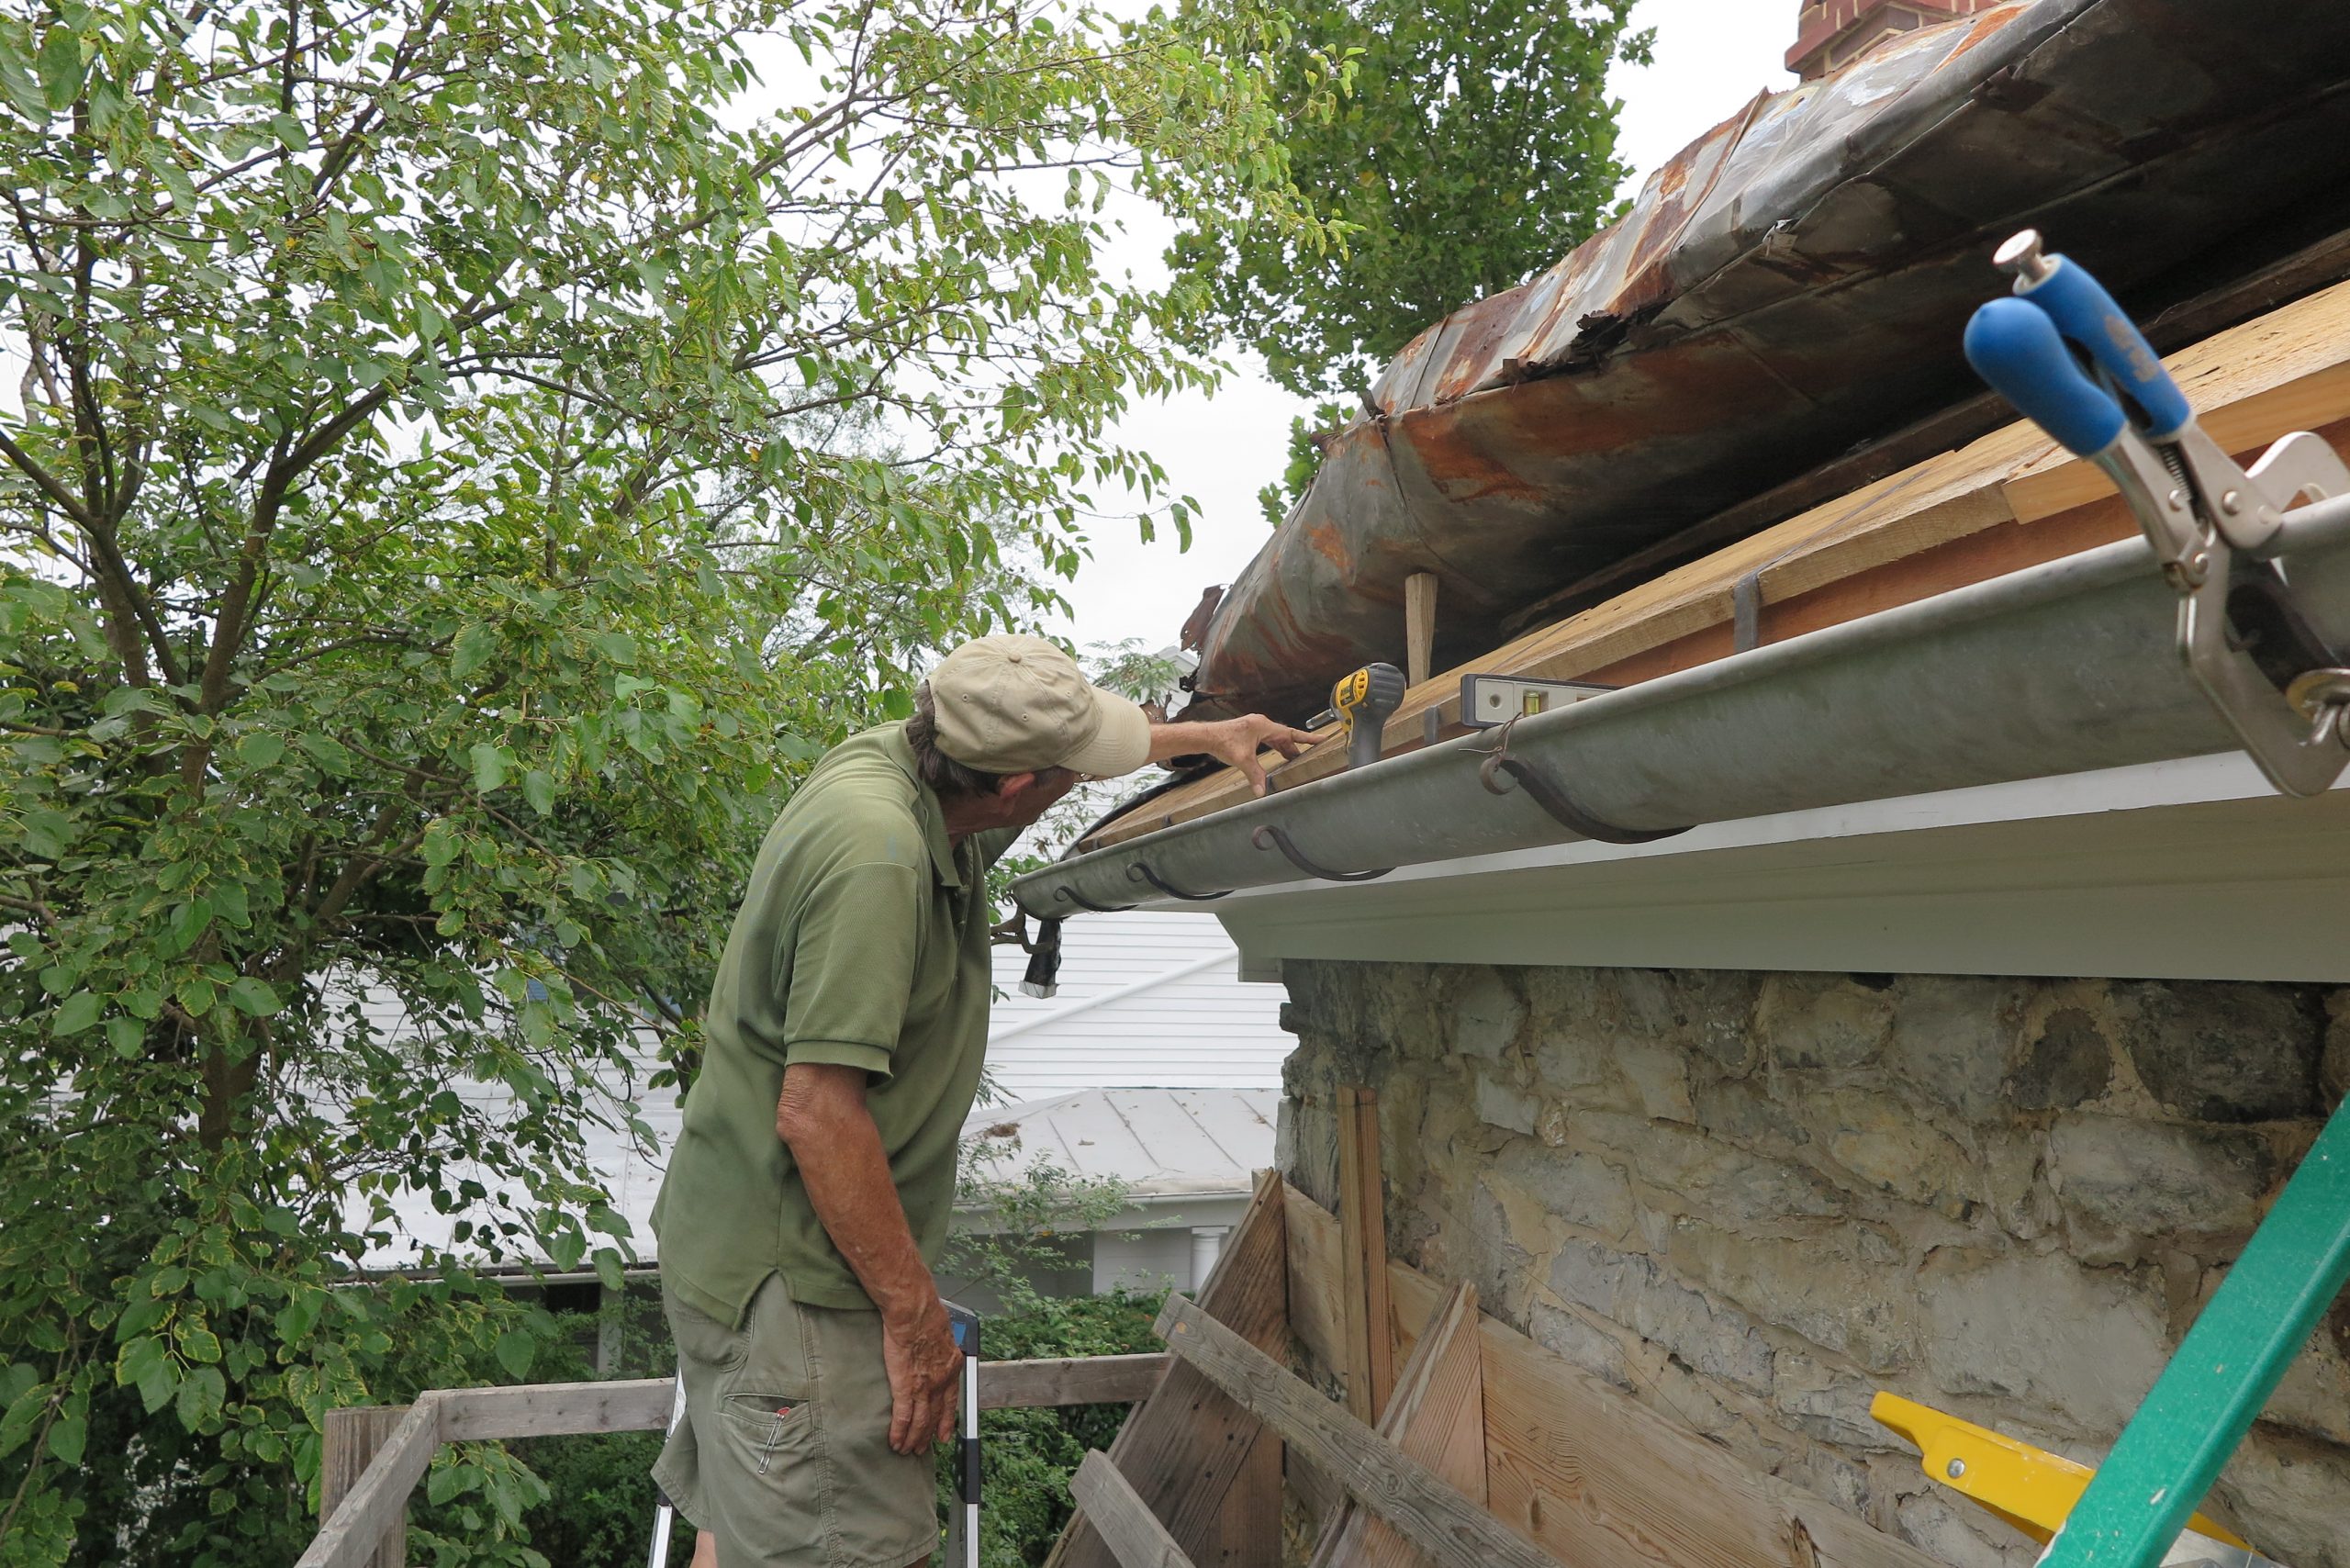
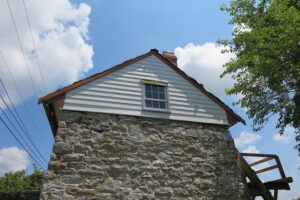
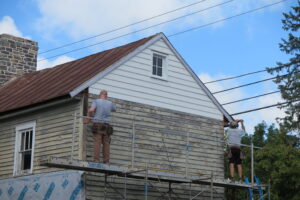
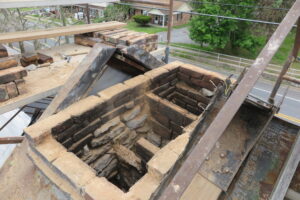
The photos that accompany this article were taken in late September 2021 when our roof installation contractor, The County Homestead, was working on the roof over the stone side of the building. Our Manager of Collections & Programs, Rick Kriebel, worked for this company in 2015. He recounted the following: “The first job I had out of grad school was working for The Country Homestead, our current contractors to install the roof. They had a longstanding agreement with the State of Pennsylvania to hire interns every summer and train them in historic construction methods; I was one of two interns that year. I quickly learned that I am even worse at working with my hands than I thought. By the end of the summer half of my duties were some variant of gofering. The other intern had a job lined up somewhere else, and left before the internship was over. Most of the crew were guys with a construction background who learned historic methods on the job. Six years later, when The Country Homestead came to install the first half of the roof I expected to see some old colleagues, but the only ones still around were the owners. Everyone else had left for some reason or another.”
This anecdote illustrates the challenge of the building preservation trades. Mr. Frank Stroik, the proprietor of The Country Homestead, had all his work crew leave at the end of the summer of 2022 to pursue other opportunities. At the time of this post, he is looking to hire and train new workers. If you or someone you know is interested in this kind of low-tech work, please give us a call and we can get you or your friend in touch with Mr. Stroik. In the meantime Mr. Stroik is hoping to have his work crew back up to full strength by the spring on 2023 and plans to come and finish the job of shingling the Stone House roof at that time.