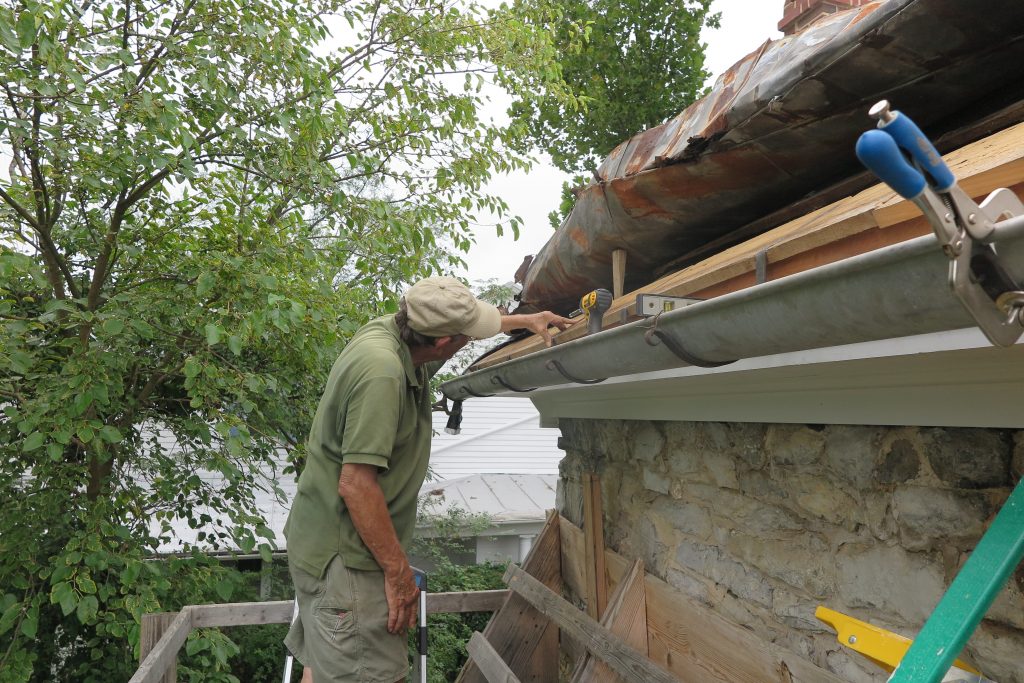
We completed the work of fitting the gutter brackets to their respective places along the bottom edge of the roof sheathing boards. It is last thing we needed to do before installing the shingles on the stone side of the Stone House. This project was not as easy as we had thought it would be on the rear side of the building. This is mainly because the roof rafters and eaves on the back side of the building are very irregular. They have suffered the most over the nearly two hundred and sixty years of the structure’s lifetime. Additionally, when the ell addition was built on the rear of the stone side of the house in the early twentieth century, the workers removed the part of the soffit that was in the way. Everything that was missing had to be painstakingly restored while preserving the remaining building fabric. Consequently, the eaves and the sheathing boards above, to which the gutter brackets are attached on the rear side, are not completely straight or level. This is in contrast to the front of the stone side of the building. The work of attaching the gutter brackets to the front of the stone side was accomplished with the help of Dennis Clem, the proprietor of Cedar Creek Blacksmithing. Some of you may have seen the posts on our social media pages featuring photos of Mr. Clem while he was working.
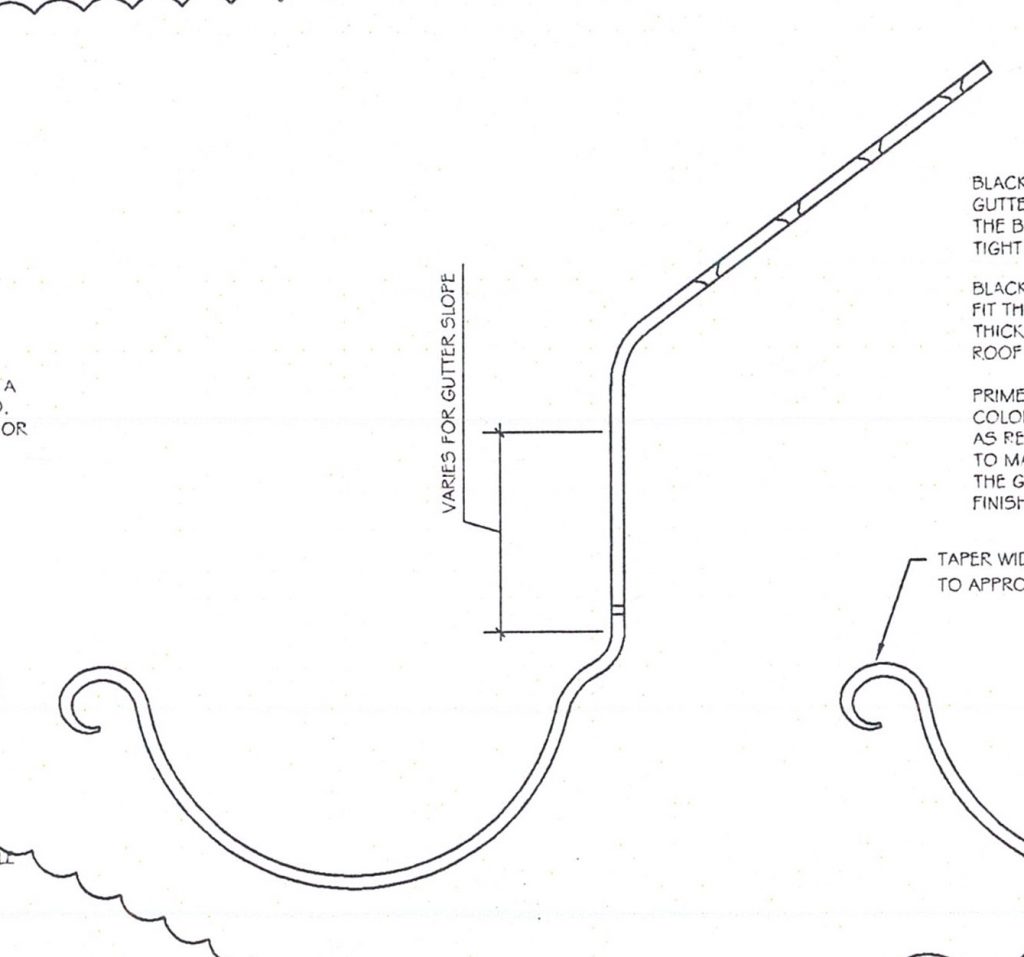
Mr. Clem had to bow out from the work on the rear side due to scheduling constraints. As noted above, the work of fitting the brackets to the rear side has proven to be very time consuming. Our President Butch Fravel took over the project for the rear of the stone side. Mr. Fravel found that the irregularities of the rear side eaves and sheathing boards made the task very challenging. As the detail from the architectural drawing below illustrates, the angle of the bend below the shank that is attached to the sheathing board would theoretically remain constant while the amount of the drop below that bend would vary to insure the gradual slope of the gutter toward its downspout.
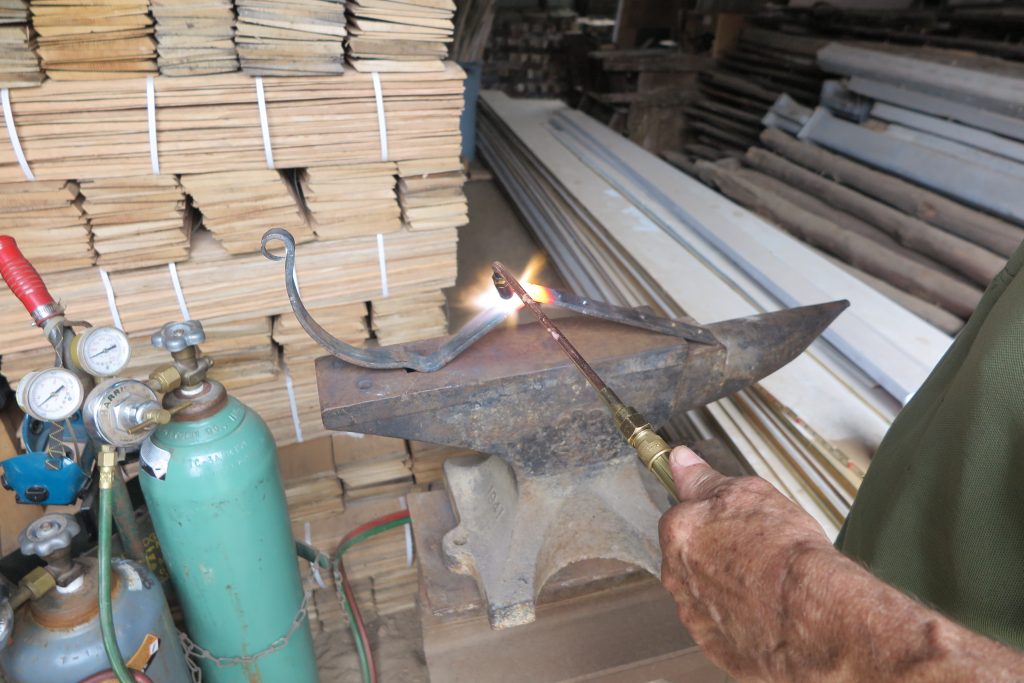
Because of the irregularities in the placement of the sheathing boards, the angle of the bend, as well as the amount of drop below the bend, varied from one bracket to the next. The number of compound angles and the variables associated with them required approaching each bracket with new measurements. Some brackets had to be rebent and adjusted more than twice to get them in the right places. Mr. Fravel used a settling torch and traditional blacksmithing tools to accomplish the work. (See image below.)
Once we were sure that all the gutter brackets were fitted properly to their respective places on the sheathing boards, we then took them to be powder coated on the 16th of September. That work was done by Coatings USA LLC in Front Royal. This will ensure that the brackets will not rust and deteriorate as quickly as they would otherwise. After the brackets were powder coated, they were reinstalled in their respective places. Each bracket is uniquely marked with a lettering system that will be used to denote where they belong in their respective slots on the bottom sheathing boards. In our next instilment we will report on the installation of the shingles.


